A simple puncture can ruin your ride. It’s a very annoying matter if it happens on the way. You need to change the tube as soon as possible. Changing a tube isn’t too hard if you know the right procedure. You can do it yourself within an hour. But first, you have to know the procedure.
As you’re here, we assume you’re not familiar with the procedure. Don’t worry; we got your back. In this guide, we are going to discuss how to change a road bike tube step by step so that you can do the job yourself easily. Let’s go
How To Change A Road Bike Tube
To change a road bike tube, you need some tools and supplies before getting started. You also need to follow the steps carefully to avoid any mistakes or unwanted situations.
Required Tools & Supplies
Here is the list of required tools and supplies-
- Tube;
- Tire Lever;
- Pump;
- Pliers;
Additionally, you can keep tire boots and adhesive patches in your saddlebag. These 2 things are small in size, but really effective sometimes. They are not for changing tire-tube. They’re for repairing. In case, you get a puncture on the way and don’t have any spare tube; you can then use them and fix the tire and tube easily for temporary use.
Remove The Wheels
Step-1
In order to change a road bike tube, you have to remove the wheel first. Put the bike upside down and keep it standing on the seat and handlebars of the bike.
Step-2
It’s the easiest way to reach and remove the wheels of the bike. You can put a piece of concrete on the ground and place the bike on it. It’s for avoiding any scratches on the seat or handlebars. And if you’re middle of away, you can use paper or cloth.
Step-3
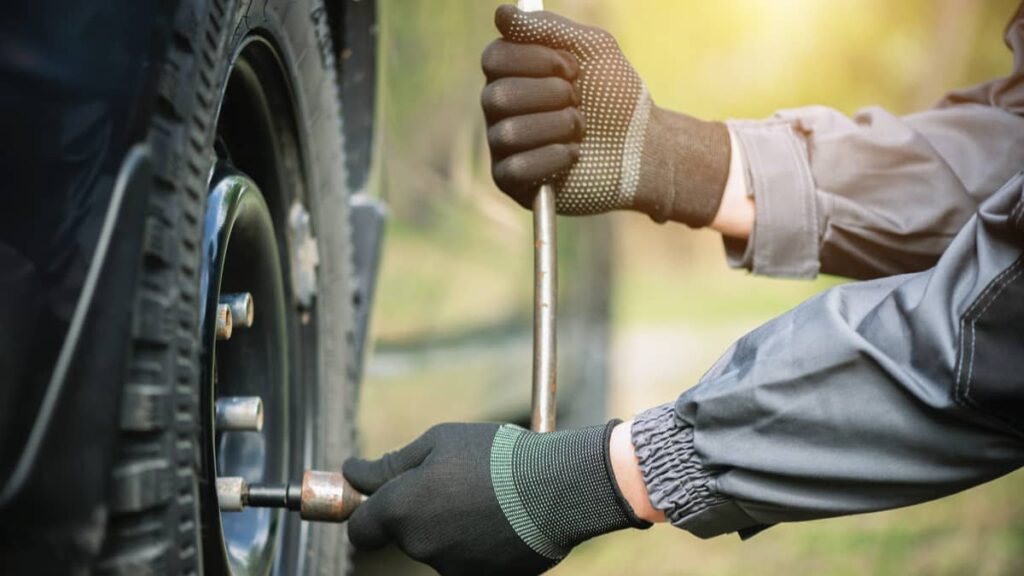
After placing the bike, loosen the wheel. Some bikes have a lever to easily remove the wheel and some bikes have bolted. If your bike has a lever then you can loosen it without any tools. But if the bike has bolts then you’ll need pliers or a socket set to loosen the wheel bolts. After losing the wheel bolts, undo the brake.
Step-4
Then, you can remove the wheel easily. If you are about to change the front tire tube then you may not have to follow this step. After that, loosen the tension on the chain. Now, pull the small gear. This should loosen the chain of the bike. Now, remove the chain and the wheel is free to remove from the bike frame. This may require a little force.
Remove The Tire From The Wheel
Once the selected wheel is removed from the bike frame, it’s time to proceed to the next step. Keep your bike aside and take the wheel. Now, use the tire lever and remove one side of the tire from the wheel rim. Use the curved edge of the tire lever and squeeze it between the edge of the wheel rim and the tire.
After that, push the lever up to pull the tire edge out of the wheel rim. Start this process from the opposite side of the valve, it’s easier than the way to remove it.
Keep doing this slowly and you’ll remove one side of the tire from the wheel rim shortly. Once you remove one side, start removing the other side with the same process. It should be easier than in the first process. When both sides of the tire are removed from the wheel rim, you’re ready for the next step.
Note: DO NOT forget to let all the remaining air out from the tube before starting removing the tire from the rim, in case you want to change the productive old tube.
Remove The Old Tube
After removing the tire from the wheel rim, remove the old tube from the tire. To remove the old tube, remove the valve of the tube from the rim first. The rest of the tube will be easy to remove then. It’s simple. Let’s go for the next step.
Insert The New Tube
After removing the old tube, it’s time to insert the new tube. Before starting to insert, use your mini pump and pump a little amount of air into the tube. Not too much, just a little so that the shape of the round tube appears. Now, place the new tube inside the tire. After placing, attach the valve of the new tube through the valve hole of the rim.
Once you do that, use the tire lever and start pushing the tire edge inside the wheel rim. First, push one side of the tire and when you’re done, start pushing the other side. This will take a bit of force. Don’t panic and do it slowly. Otherwise, you may damage the new tube.
When you do finish attaching the tire with the wheel rim, make sure that the tire is seated perfectly. Inspect carefully the entire circumference of the rim. If the tire is seated perfectly, use the mini pump, and start inflating. Make sure to maintain the recommended PSI.
Reinstall The Wheel
You’ve done changing the tube successfully. It’s time to reinstall the wheel. First, put the chain around the rear sprocket. Do it before putting the wheel into the frame. It’s a very important part. If you don’t do this, you can’t ride your bike.
After that, slide the wheel into the bike frame and adjust the brake. It may need a bit of force. Once you adjust it, you can align it to the bike frame. Hook the chain back and pull the tension back. Make sure that the chain is taut for smooth shifting.
You’re done actually. It’s time for the final check. Make the bike stand and get on it. Make sure that the wheel you just reinstalled is straight. If not, fix it. You can do it by loosening the axle bolt of the wheel, adjusting it, and tightening it. Make the wheel straight and you’re all done! Now go and enjoy your ride with the newly installed tube.
Read More, How to Change a Road Bike Tire.
Final Words
It’s really a simple job to change the road bike tube. You can do it yourself. Just follow these steps and I’m sure, you can do it successfully next time. It will help you to save money and time. On the other hand, you will not feel disappointed if you get a puncture next time, on the way!